
Our funding comes from our readers, and we may earn a commission if you make a purchase through the links on our website.
How to Lock Flash Drives with Endpoint Protector
UPDATED: June 14, 2023
Learn how to protect your network from maliciously infected USBs, and encrypt your USBs to protect them further.
Endpoint Protector by CoSoSys has a feature called Device Control that protects your network from malicious USB firmware-based assaults at every endpoint. In addition to protecting against malware spread via USB, Endpoint Protector offers data loss prevention tools to secure your network against data leaking.
The solution requires distributing a single, lightweight agent over your network and is cross-platform. The monitoring and settings management is done through a web-based interface. You can still authorize remote USB access for quick connections even when the device is offline, or you can create more detailed rules depending on the policy for tighter control.
Blocking USBs with Endpoint Protector
Endpoint Protector comes fitted with an in-depth USB lockdown solution. A straightforward web-based interface lets you disable USB and peripheral ports. For machines running Windows, macOS, and Linux, setting policies is simple, and is explained in more detail later in this article. You can also limit the usage of unapproved devices, including USB flash drives—but also hard drives, pen drives, and more through authorization restrictions.
Ultimately, using an intuitive and efficient USB lock, you can disable the USB ports and restrict data transfer over the USB. Though additional features also allow you to report on and analyze your network to keep an eye on all activities associated with device use. You can ensure a seamless experience across security products by externalizing logs and reports.
Why block USB access? Well, organizations can lower the risk of a data breach and stop malware from entering your system by restricting USB connections. Limiting employee access to personal USB devices also helps to reduce insider risks and has been shown to boost productivity. Another function is to allow employers to prevent their staff from copying confidential information for their own or the company's benefit by using USB blockers.
All of this comes as part of the Device Control component of Endpoint Protector.
Device Control
Endpoint Protector provides the centrally managed Device Control feature that allows USB ports and attached storage devices to be completely under your control. By doing this, it stops unintentional or intentional data loss and leakage, while safeguarding your endpoints from malicious USB-centric attacks. You can also utilize a straightforward web-based interface to remotely monitor USBs and peripheral ports without affecting the performance of the protected PCs.
The system allows you to easily set policies for Windows, macOS, and Linux, and when machines are down, you can still grant remote USB access while having a full list of log reports once you're back online. Determine which devices may be accessible based on various customizable requirements, set device whitelists and blacklists, and define policies by person, machine, or group.
If you wish to utilize all that Device Control has to offer, use the additional Enforced Encryption feature to further strengthen security. With this combination, you can ensure that all USB mass storage devices used within the organization are properly encrypted.
Enforced Encryption
The best approach to guarantee that private information won't end up in the wrong hands as a result of unwanted access, lost, or stolen devices is to utilize an intuitive, cross-platform encryption solution. IT Administrators can expand their Device Control policy and ensure that all confidential data transported to USB storage devices is automatically secured by combining Enforced Encryption with Endpoint Protector.
Enforced Encryption is a cross-platform solution that works with both Windows and macOS systems. Users can securely send sensitive data and access it on any computer, or just those with the right permission, by using a secured password. For IT administrators, you can also send messages to users remotely, request password changes, or wipe sensitive data if a device has been misplaced or cannot be found.
This feature essentially functions as an additional measure of protection. Users will only be permitted to send sensitive data via encrypted USB portable storage devices thanks to Enforced Encryption. Also worth noting is that due to the password-protected encrypted section, data will be secure even if a device is lost or stolen. Numerous industry regulators demand that private information be encrypted, meaning Enforced Encryption aids in adhering to regulations like HIPAA, PCI DSS, SOX, and others while protecting USB devices.
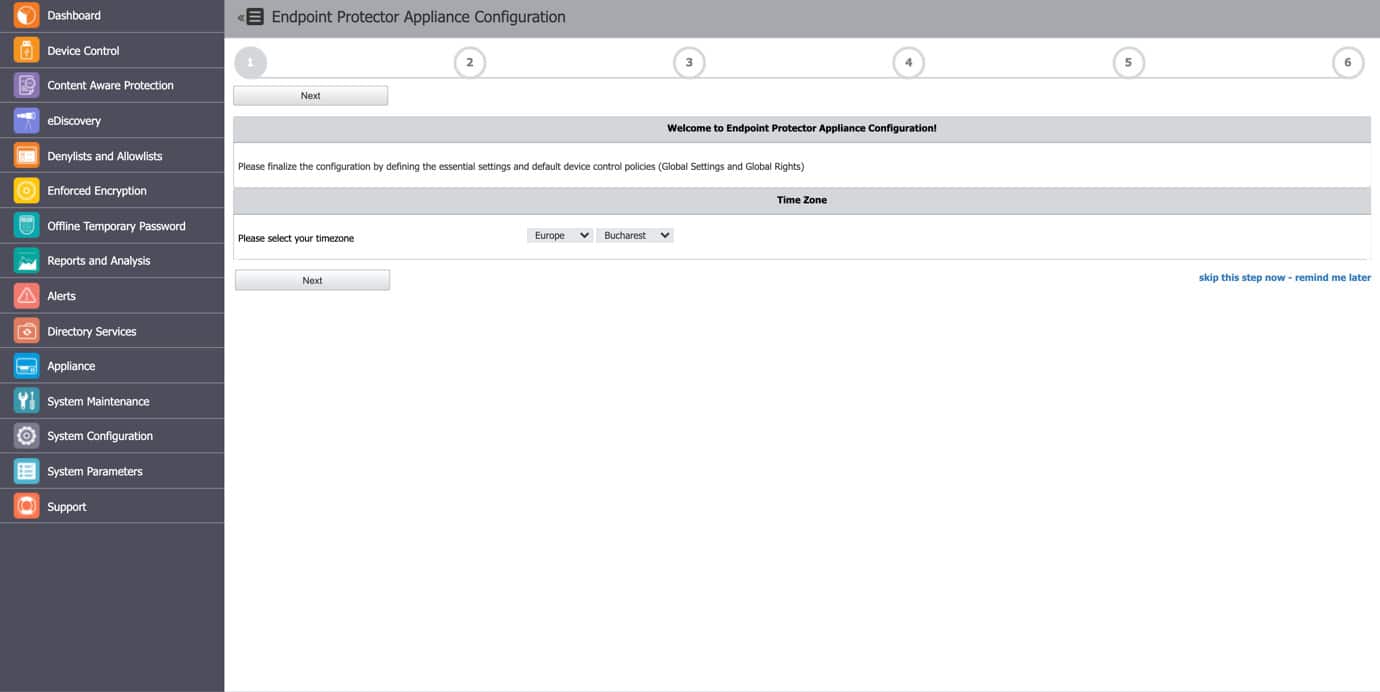
Configuration Wizard
There are various steps you can take in the Configuration Wizard to define the initial parameters of your required setup. These tasks include importing licenses, updating the server or uploading offline patches, granting global device rights, configuring the email server, etc. These parameters are always changeable through the various settings menus that exist within the software, but the Wizard simply speeds up installation.
Various cloud service providers, including AWS, Microsoft Azure, and Google Cloud Platform, can be used to deploy Endpoint Protector.
Registering Devices
First, go to the Device Control section. You can control all system entities, their ensuing rights, and their settings from this component. Other sorts of settings, such as Endpoint Protector Client and Deep Packet Inspection settings, can be managed from the Device Control area. It is always turned on by default in every configuration that Endpoint Protector offers because it is the first line of defense.
You can view, sort, and export any system devices from this section in Excel, PDF, or CSV format. To update, manage privileges, examine device history, and delete a specific device, use the Actions column.
Based on the color code from the Status column, you may see the right for each device as follows:
- Yellow shows that the device is allowed for some users or computers with restrictions.
- Red indicates that the device is blocked in the system.
- Green that the device is allowed on computers or for users.

By entering the device's name, friendly name, type PID, department, description, friendly description, VID, serial number, and custom class, click Create to manually add a new device to the list. Use Choose Action to schedule a list export, export, or import data in JSON format, or to update the device codes.
To correlate device permissions and Groups, the Export/Import Devices in JSON format capability enables you to manage device lists from one Endpoint Protector Server to another. The access rights for the imported devices will remain the same if the same Groups are present on both Servers. The devices will still be imported even if the Groups are missing, but the access privileges will not be taken into account. You can also import the devices directly from Active Directory.
Global Device Controls
If the devices are not configured, the default Global Rights for each Device Type (USB Storage Device, Digital Camera, iPod, Thunderbolt, Chip Card Device, etc.) are used to determine the rights. For all entities, if you define device privileges granularly, the following will be the priority order, from highest to lowest:
Devices > Computers or Users > Groups > Global
Device Types
A wide variety of device types that are important causes of security breaches are supported by Endpoint Protector. Users can access, produce, or alter their content on these devices if they are authorized, and administrators can view the data sent to and received from these devices. In addition to the Allow and Deny Access rights, different permissions are also accessible depending on the type of device.
These include Read-Only Access and several variations of Allow Access but with different restrictions, like Allow access but exclude from CAP scanning or Allow Access if TrustedDevice Level 1 to 4. Depending on the amount of protection a device provides, the TrustedDevices technology integrated into Endpoint Protector is available in four security levels (trusted devices employing EasyLockTM are TD level 1).
EasyLock
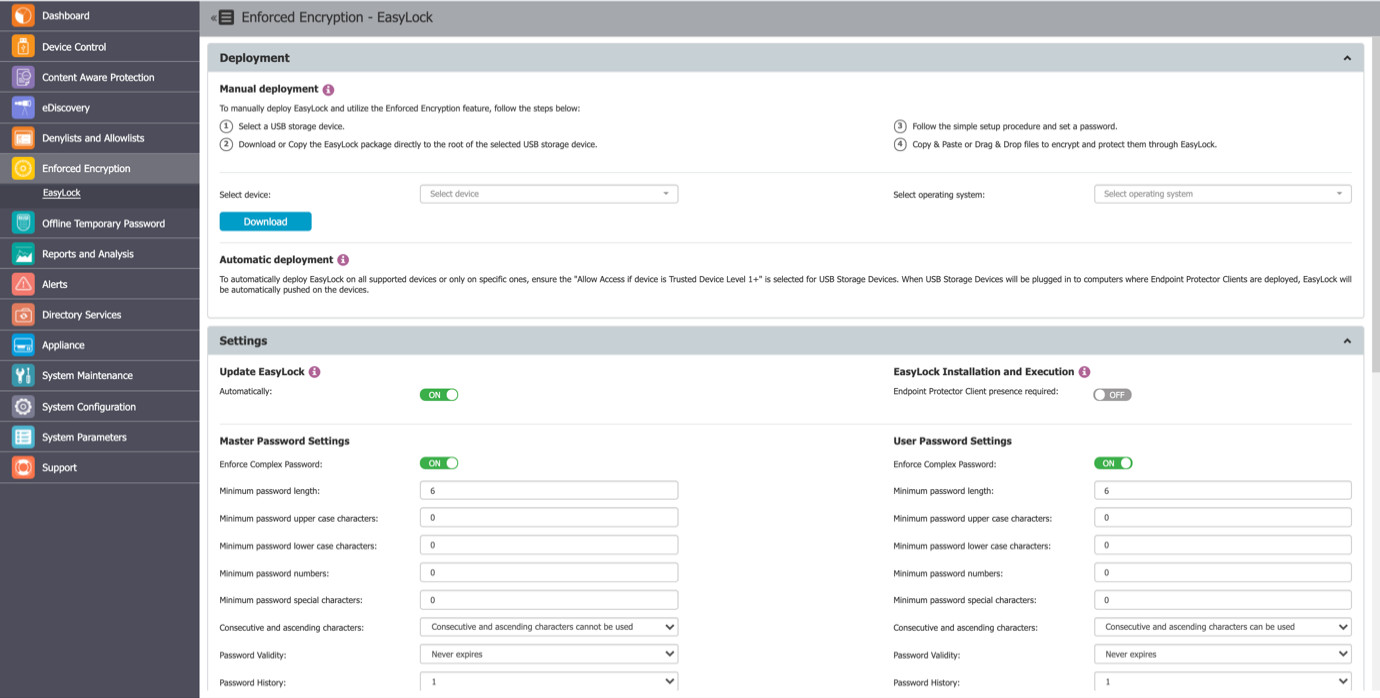
Enforced Encryption presents a cross-platform solution called EasyLock that uses 256-bit AES CBC-mode encryption to secure data. It must be installed at the device's root for USB devices. Files can be copied to and from the device rapidly using the simple Drag & Drop interface. When used with Endpoint Protector, EasyLock enables the designation of USB storage devices as Trusted Devices Level 1. This will guarantee that protected PCs are using USB Enforced Encryption.
The user-configured password or the Master Password established by the Endpoint Protector administrator can be used to access data saved on the device. The user must copy the information out of EasyLock since the encrypted data cannot be opened until it has been decoded.
If Allow Access if Trusted Device Level 1+ is chosen for the USB Storage Devices, deployment can be carried out automatically. To achieve this, go to Device Control and select the Global Rights area, or use the quick buttons shown in the figure above.
Additionally, manual deployment is possible. This section contains download links for both Windows and Mac. It is necessary to copy the downloaded EasyLock file to the USB storage device and run it from the device's root directory. EasyLock must be redownloaded via the Endpoint Protector interface each time it is used to encrypt a new USB storage device because of the extended security capabilities for manual deployment.

