
Our funding comes from our readers, and we may earn a commission if you make a purchase through the links on our website.
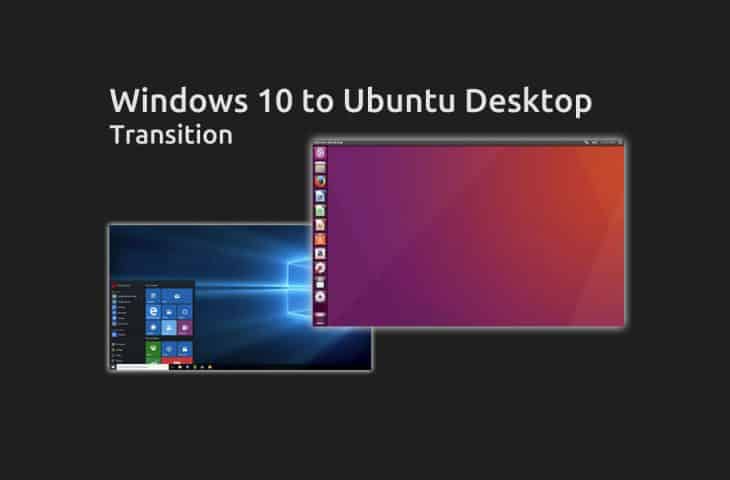
Transitioning to Ubuntu from Windows 10 with Ease
UPDATED: January 20, 2020
As Network and Sys Admins who've been in the business for years now, we've been looking for ways to minimize our risk of exploitation and the continual need to update our workstations every Tuesday – so what better way to do that then to jump on the Linux bandwagon and figure out a way to finally make the switch over to Ubuntu.
We're consistently logging into web servers that run Ubuntu 18.04 to administrate our LEMP Stack and we've become rather familiar with NGINX as well.
So why not just make the switch over to an Ubuntu Desktop for our primary OS too?
One of our engineers decided to take the leap into the unknown and configure his Ubuntu 16.04 LTS setup to mimic his old Windows 10 Workstation that he grew so accustomed to using, day-in and day-out.
Right off the bat, getting Ubuntu installed was a piece of Cake – we initially installed the Ubuntu 16.04 LTS on a virtual machine to test it out and try to get it configured in a way that we could utilize some basic tools we needed for every day network management and monitoring tasks.
Some basics tasks and programs we need to use to get the absolute bare minimum amount of work done are as follows:
- Remote Desktop Connection in Ubuntu (to connect and monitor Windows Servers and such)
- FTP/SCP Client for Ubuntu
- Text/HTML Editor for Ubuntu
- Virtualization platform for Windows VM for Windows-only Management Software (some of the software we use in-house is only developed for Windows platform)
With those requirements (and preferences) clear, we'll jump right into the configuration portion.
First off, the Ubuntu Desktop looks like this after a fresh Install

So the first step of this process was to find a Theme looks like Windows 10 – or in others word, make it Look and Feel like Windows 10 to keep everyone happy on our end – change isn't fun, but we can lessen the burden by at least making the interface look somewhat similar.
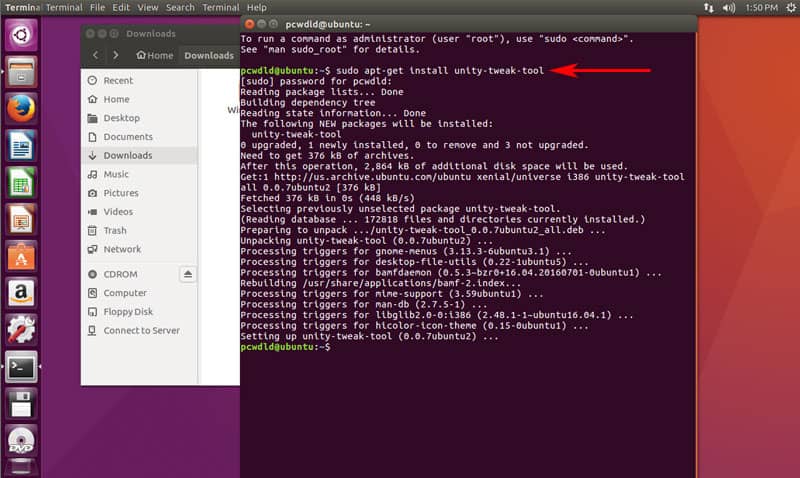
We stumbled upon a Windows 10 Theme for Ubuntu here and downloaded the Windows 10 Dark theme, Icons and Pointer via the links on the page. To install the theme, follow the instructions below:
- Open up the Terminal and run this command to install the Theme Tweak tool by running this
simple command: sudo apt-get install unity-tweak-tool
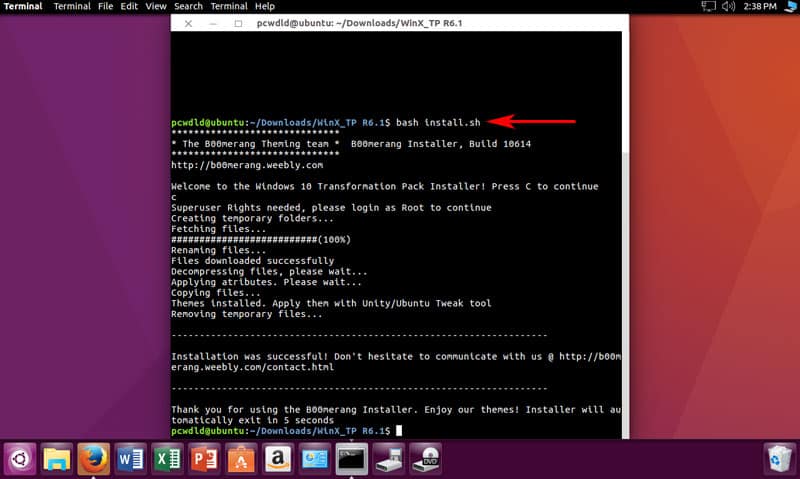
- Download the Windows 10 Transformation Pack from Github here. Then Extract the folder and open your Terminal, navigate to the extracted folder and run the following command to initiate the install of the custom theme and icons:
bash install.sh
- Now its time to Open the “Unity Tweak Tool” (we found the fastest way to find it is just by clicking the top left most icon and search the computer for “Tweak”) and start customizing it.
- Once the “Unity Tweak Tool” is open, click on “Theme” under the Appearance section and select Window 10 Dark and then go over to the Tab that says “Icons” and select Windows 10 Icons.


At this point, we'll have a Ubuntu desktop setup and looking like a Windows 10 Environment.
One step closer to making OS usable, as we'll have the look and feel of Windows 10 but with the security and bloat-free experience of Linux, along with a very strong command-line interface.
Next up, lets get all the Necessary tools we need for basic network administration and flow monitoring in our Ubuntu install.
We primarily used Windows 10 for this, and will need to get a Virtualization platform setup later to use some of the tools we currently have setup on our Windows Machines – this will come later.
Remote Desktop Client for Ubuntu
To start, We'll need a Remote Desktop Client. With our Installation of Ubuntu 16.04 LTS, Remmina Remote Desktop Client was included.
All we need to do is setup and configure all the Remote Desktop connections and save them for easy access.
Open up Remmina Remote Desktop Client and click New button and enter in your Windows Server details, like we did below:

Make sure to click “Save” and then highlight your connection in the main Window and click the Connect button to connect to your specified server.
You will need to accept the Certificate Details as seen below and at that point you'll connect to your Remote Server.


Next on the list was a basic FTP/SCP File Transfer client.
FTP/SCP Client for Ubuntu
We've been using Filezilla in that past with great success and we'd love to keep it around – and it just so happens that Filezilla has an Ubuntu client!
Run this command within Terminal and your off to the races:
sudo apt-get install filezilla
(enter your root password when it prompts you and let it install)

After that finishes installing, search for “Filezilla” and open the program to connect to your server using either FTP, SFTP or SCP protocols, as shown below:

Next off is simple Text/HTML Editor to edit files on our web server locally through the FTP client.
HTML Editor for Ubuntu
We opted to use BlueFish Editor for our HTML/Text editor because we love how easy it is to use and the layout it gives us for all HTML documents. Here are the commands to install:
sudo apt-get install bluefish

After the install finishes within terminal, search for “Bluefish” and open up the Editor and start editing your html documents quickly.
One last configuration step we'll need to do is specify within Filezilla that we want to “Use Custom Editor” from within the “Preferences” menu under “EDIT”
To Do so, follow the steps below to make BlueFish Editor the Default HTML editor for Filezilla
- Open Filezilla > click Menu > Preferences
- When the Settings box comes up, click on File Editing
- On the Right-side, you will see “Default Editor”. Choose the Radio button for “Use Custom Editor” and click Browse button.
- A dialog box will pop-up and you'll want to navigate /usr/bin/ and scroll down to bluefish
- Click the “OPEN” button after you have selected Bluefish
- Then click the “OK” to confirm the changes.
At this point you've configured Bluefish Editor to be the Default HTML and File editor for Filezilla.
Lets move onto the Last step, getting a Virtualization Platform setup within Ubuntu to run a Windows installation for our Windows specific programs.
Virtualization within Ubuntu (VMWare Install)
Since we're already using VMWare Workstation in our current environment and have the licensing in place, we'll stick with what we know.
Lets go ahead and kick off the install by downloading some essential components before we download the main VMWare Management files.
Within Terminal, run the following command:
sudo apt install gcc build-essential -y
Now we'll need to download the VmWare installation files (you can use the Trial for testing if needed) directly from Vmware.com via the URL below:
http://www.vmware.com/go/tryworkstation-linux-64
Now that the file is downloaded, jump into Terminal again, change directories to your “Downloads” folder and make sure the file permissions are set to “Executable” on the Vmware package your downloaded via the following command:
chmod +x Vmware-Workstation-Full-12.1.1-3770994.x86_64.bundle
(for the 32-bit download, use this command below):
chomd +x VMware-Workstation-Full-10.0.6-2700073.i386.bundle

at this point, you can run the installer from the command line as well, by issuing this command:
sudo ./VMware-Workstation-Full-10.0.6-2700073.i386.bundle
(we'll be installing the 32-bit for testing)
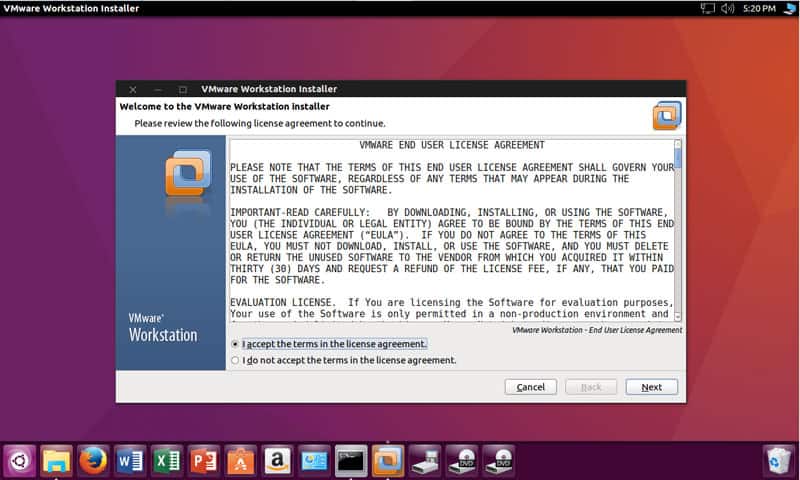
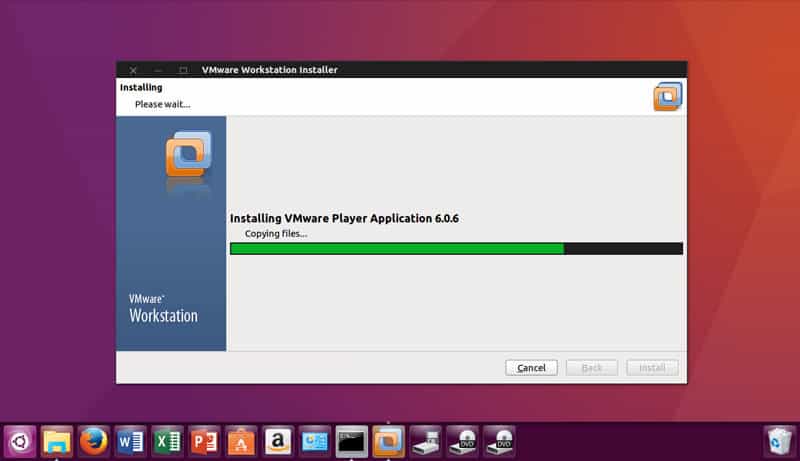
You'll then see the VMWare Workstation installer window pop-up, follow the images below to get the software installed:
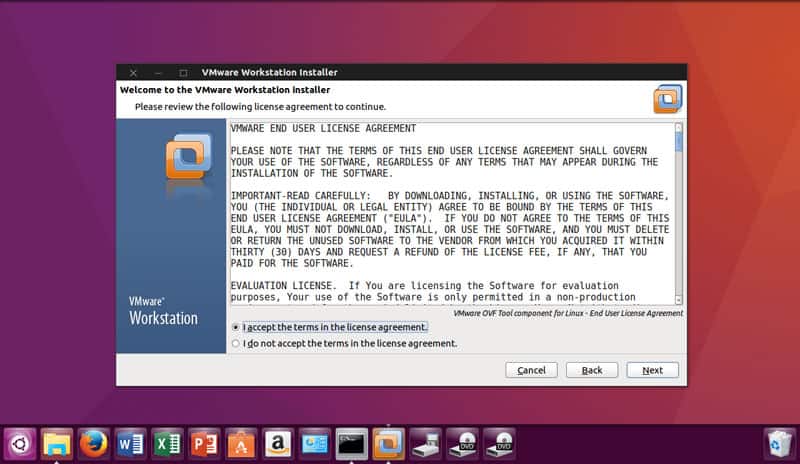
- Check the Radio Button for “I accept the terms in the license agreement.” and press Next
- Another EULA will come up and ask the same question, click the radio button for “I accept the terms in the license agreement.” and press Next
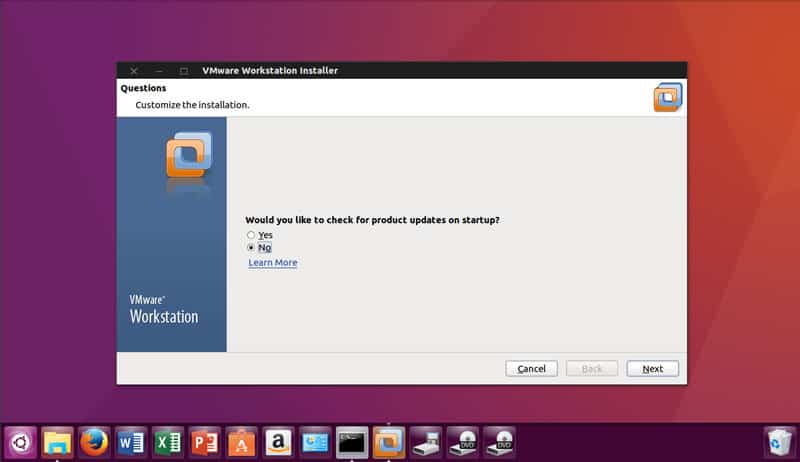
- Next window will ask if you want to check for Product updates, check the “No” radio button and click NEXT
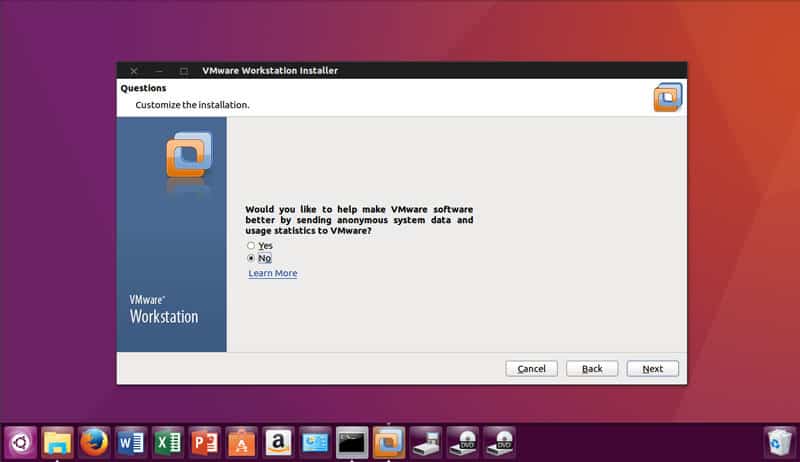
- On the Next window, we'll choose “NO” for sending anonymous data to Vmware, then click NEXT.
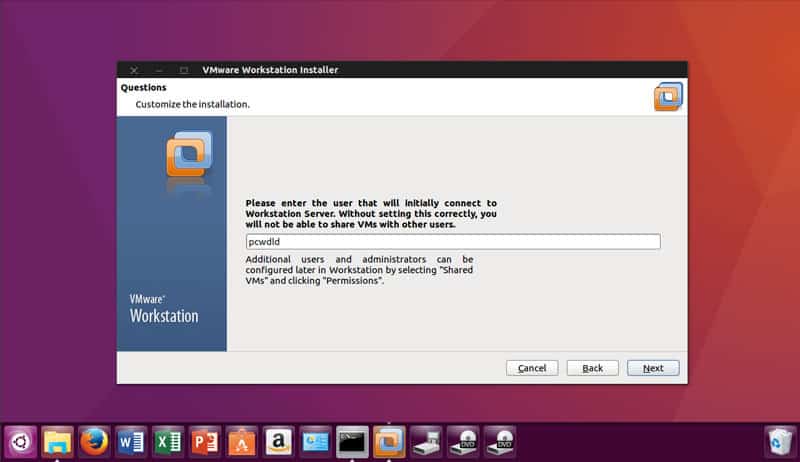
- The Next window will ask you for a username for VMWare, we simply choose the user we created when initially installing Ubuntu, then click NEXT.
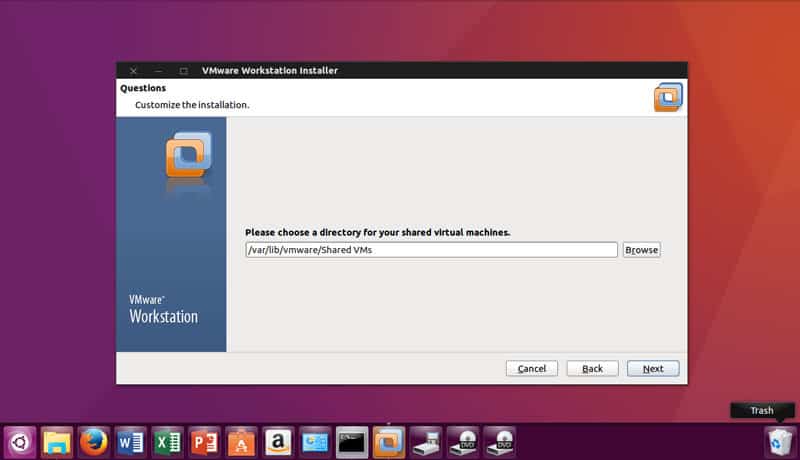
- This window will ask you where you would like to Store your shared VMs – chose a location that is accessible to other user, then click Next.
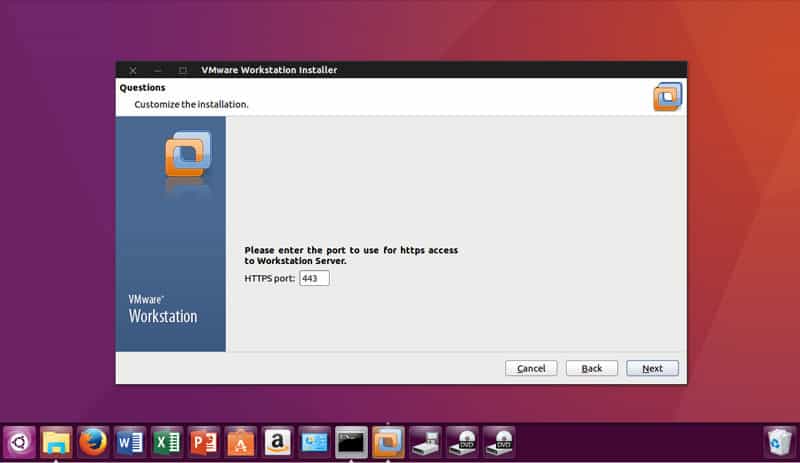
- Next window will ask you to chose a HTTPS Port to access your Workstation server, keep the default of Port 443, and click the Next button.
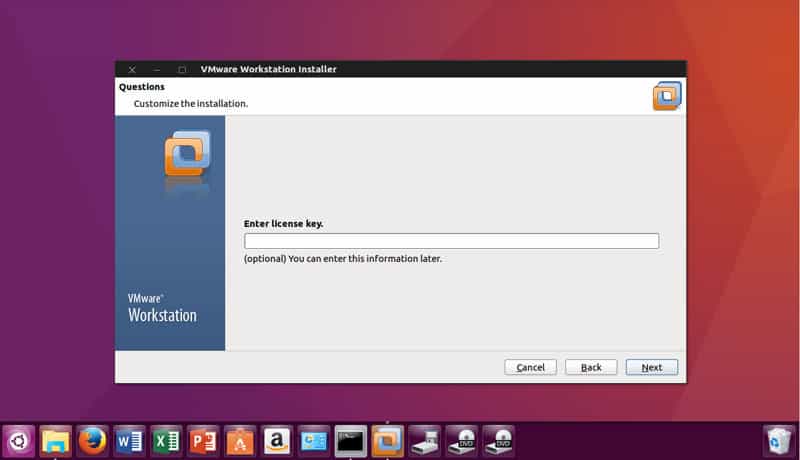
- Enter in your License key if you have one or click Next to use the Software as a Trial and click Next
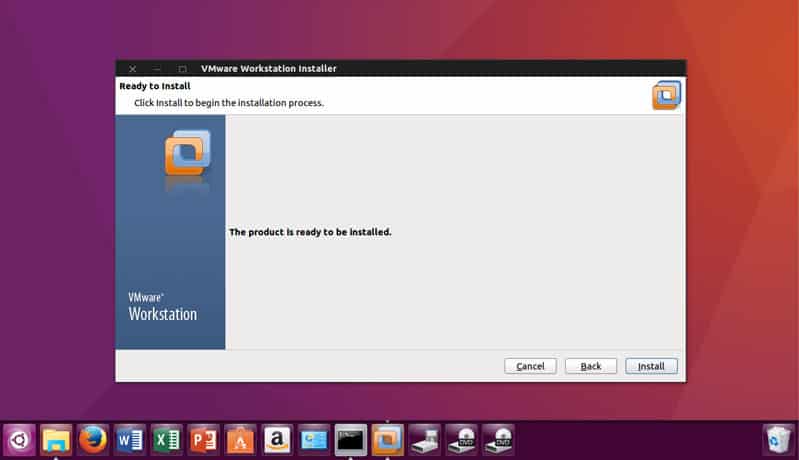
- At this point, VMware Workstation is ready to begin installing, click the INSTALL button to finish the install.
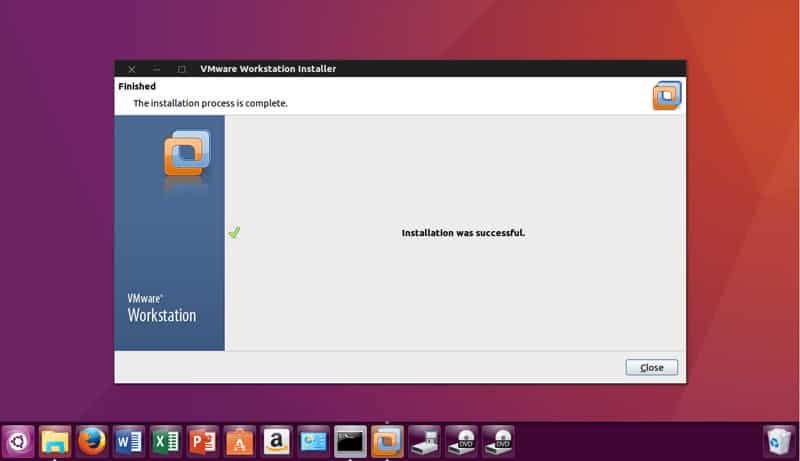


Don't forget to install VMWare tools to enable all the added functionality to VMware workstation to work within Ubuntu more smoothly.
At this point, you can search for VMware using the search menu and go ahead and install you favorite Windows operating system to run within Ubuntu either via Disk or ISO Image.
Running a Windows OS within VMware will give you the flexibility you need to install any Windows specific programs while having the windows environment at your finger tips and the security of Linux as the host platform.
We've used VMware workstation within Ubuntu for some time now and the stability and speed is very nice compared running it within Windows environment.
Conclusion
All-in-all, if your on the Fence of switching over to a Linux flavor, in specifically Ubuntu, it is now easier than ever to make the switch.
As you can see, we configured and tweaked the Ubuntu Desktop GUI to look and function like a Windows 10 Desktop environment fairly easy.
We also installed and configured all the major software programs we need to function on a daily basis in terms of Network Monitoring and administration very quickly.
From our go-to HTML editor to VMWare workstation to run Windows Guest OS within Ubuntu, the configurations are easy to perform and the flexibility and security that Ubuntu has to offer is unparalleled.
On top of the all the great features, security and flexibility built into Ubuntu, of which, security is the most important – Its FREE. No licensing costs, no dealing with Activation and other types of licensing requirements. Managing our Syslog servers, TFTP servers and even installing an Open-Source NMS should be simple a little later down the road.
If your still on the fence about it, we suggest you at least fire up a Virtual machine and install it and give it a test drive.
We're convinced that you'll like it as much as we did!

